
 AI / Concept design
How do you use AI for concept design in interior design? A workflow from brief to first images
In short: The reliable way to use AI in concept design is a five-step loop: translate the brief into a written direction, anchor the direction in the studio's references, generate a wide first round of atmospheres, iterate on top of the studio's own plans or 3D so the images are true to the space, and curate before anything reaches the client. The loop compresses the concept phase from weeks to days without changing who decides.
Why the concept phase is where AI pays first
Concept is the phase with the highest ratio of exploration to certainty. The studio is asked to show a direction before it has time to build one properly, so it either under-explores or burns senior hours on early renders that will be thrown away. AI is unusually good at producing many credible versions of an idea quickly and with a consistent language, provided the language has been set.
The workflow, step by step
1. Turn the brief into a direction
Before any prompt, the lead designer writes a short direction: who the client is, what the space must feel like, three or four adjectives the studio would actually use, materials in and materials out, and what the project must never look like. Most studios already do this in their heads; writing it down is what makes it usable by a system.
2. Anchor in references
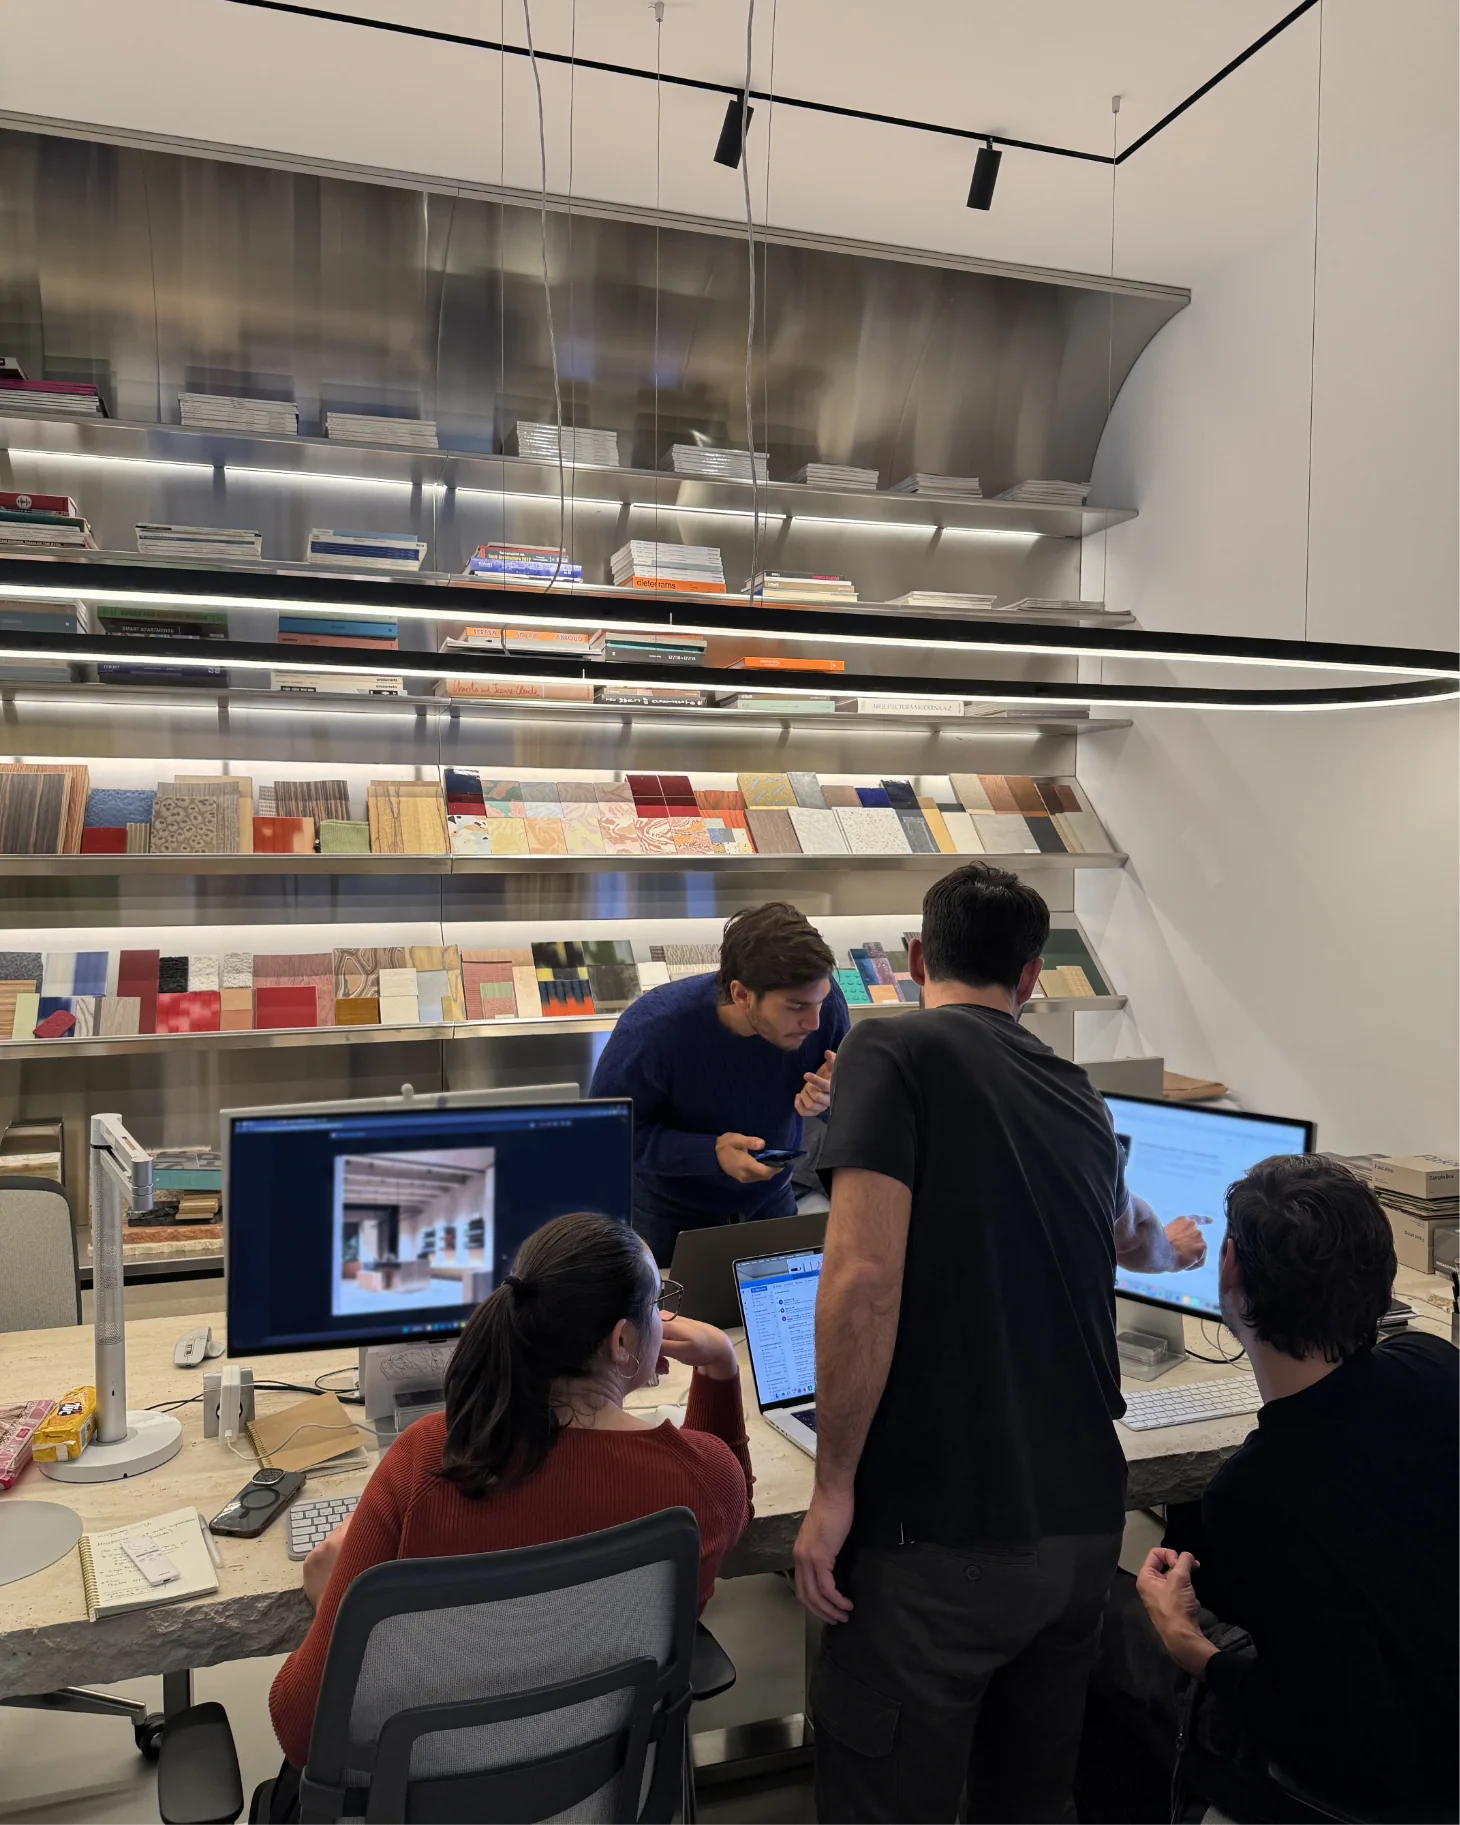
The direction is paired with references from the studio's own library, not from a generic search. Two or three images that carry the atmosphere, one or two for material, one for light. The assistant uses these as the visual ground for every generation.
3. Generate wide
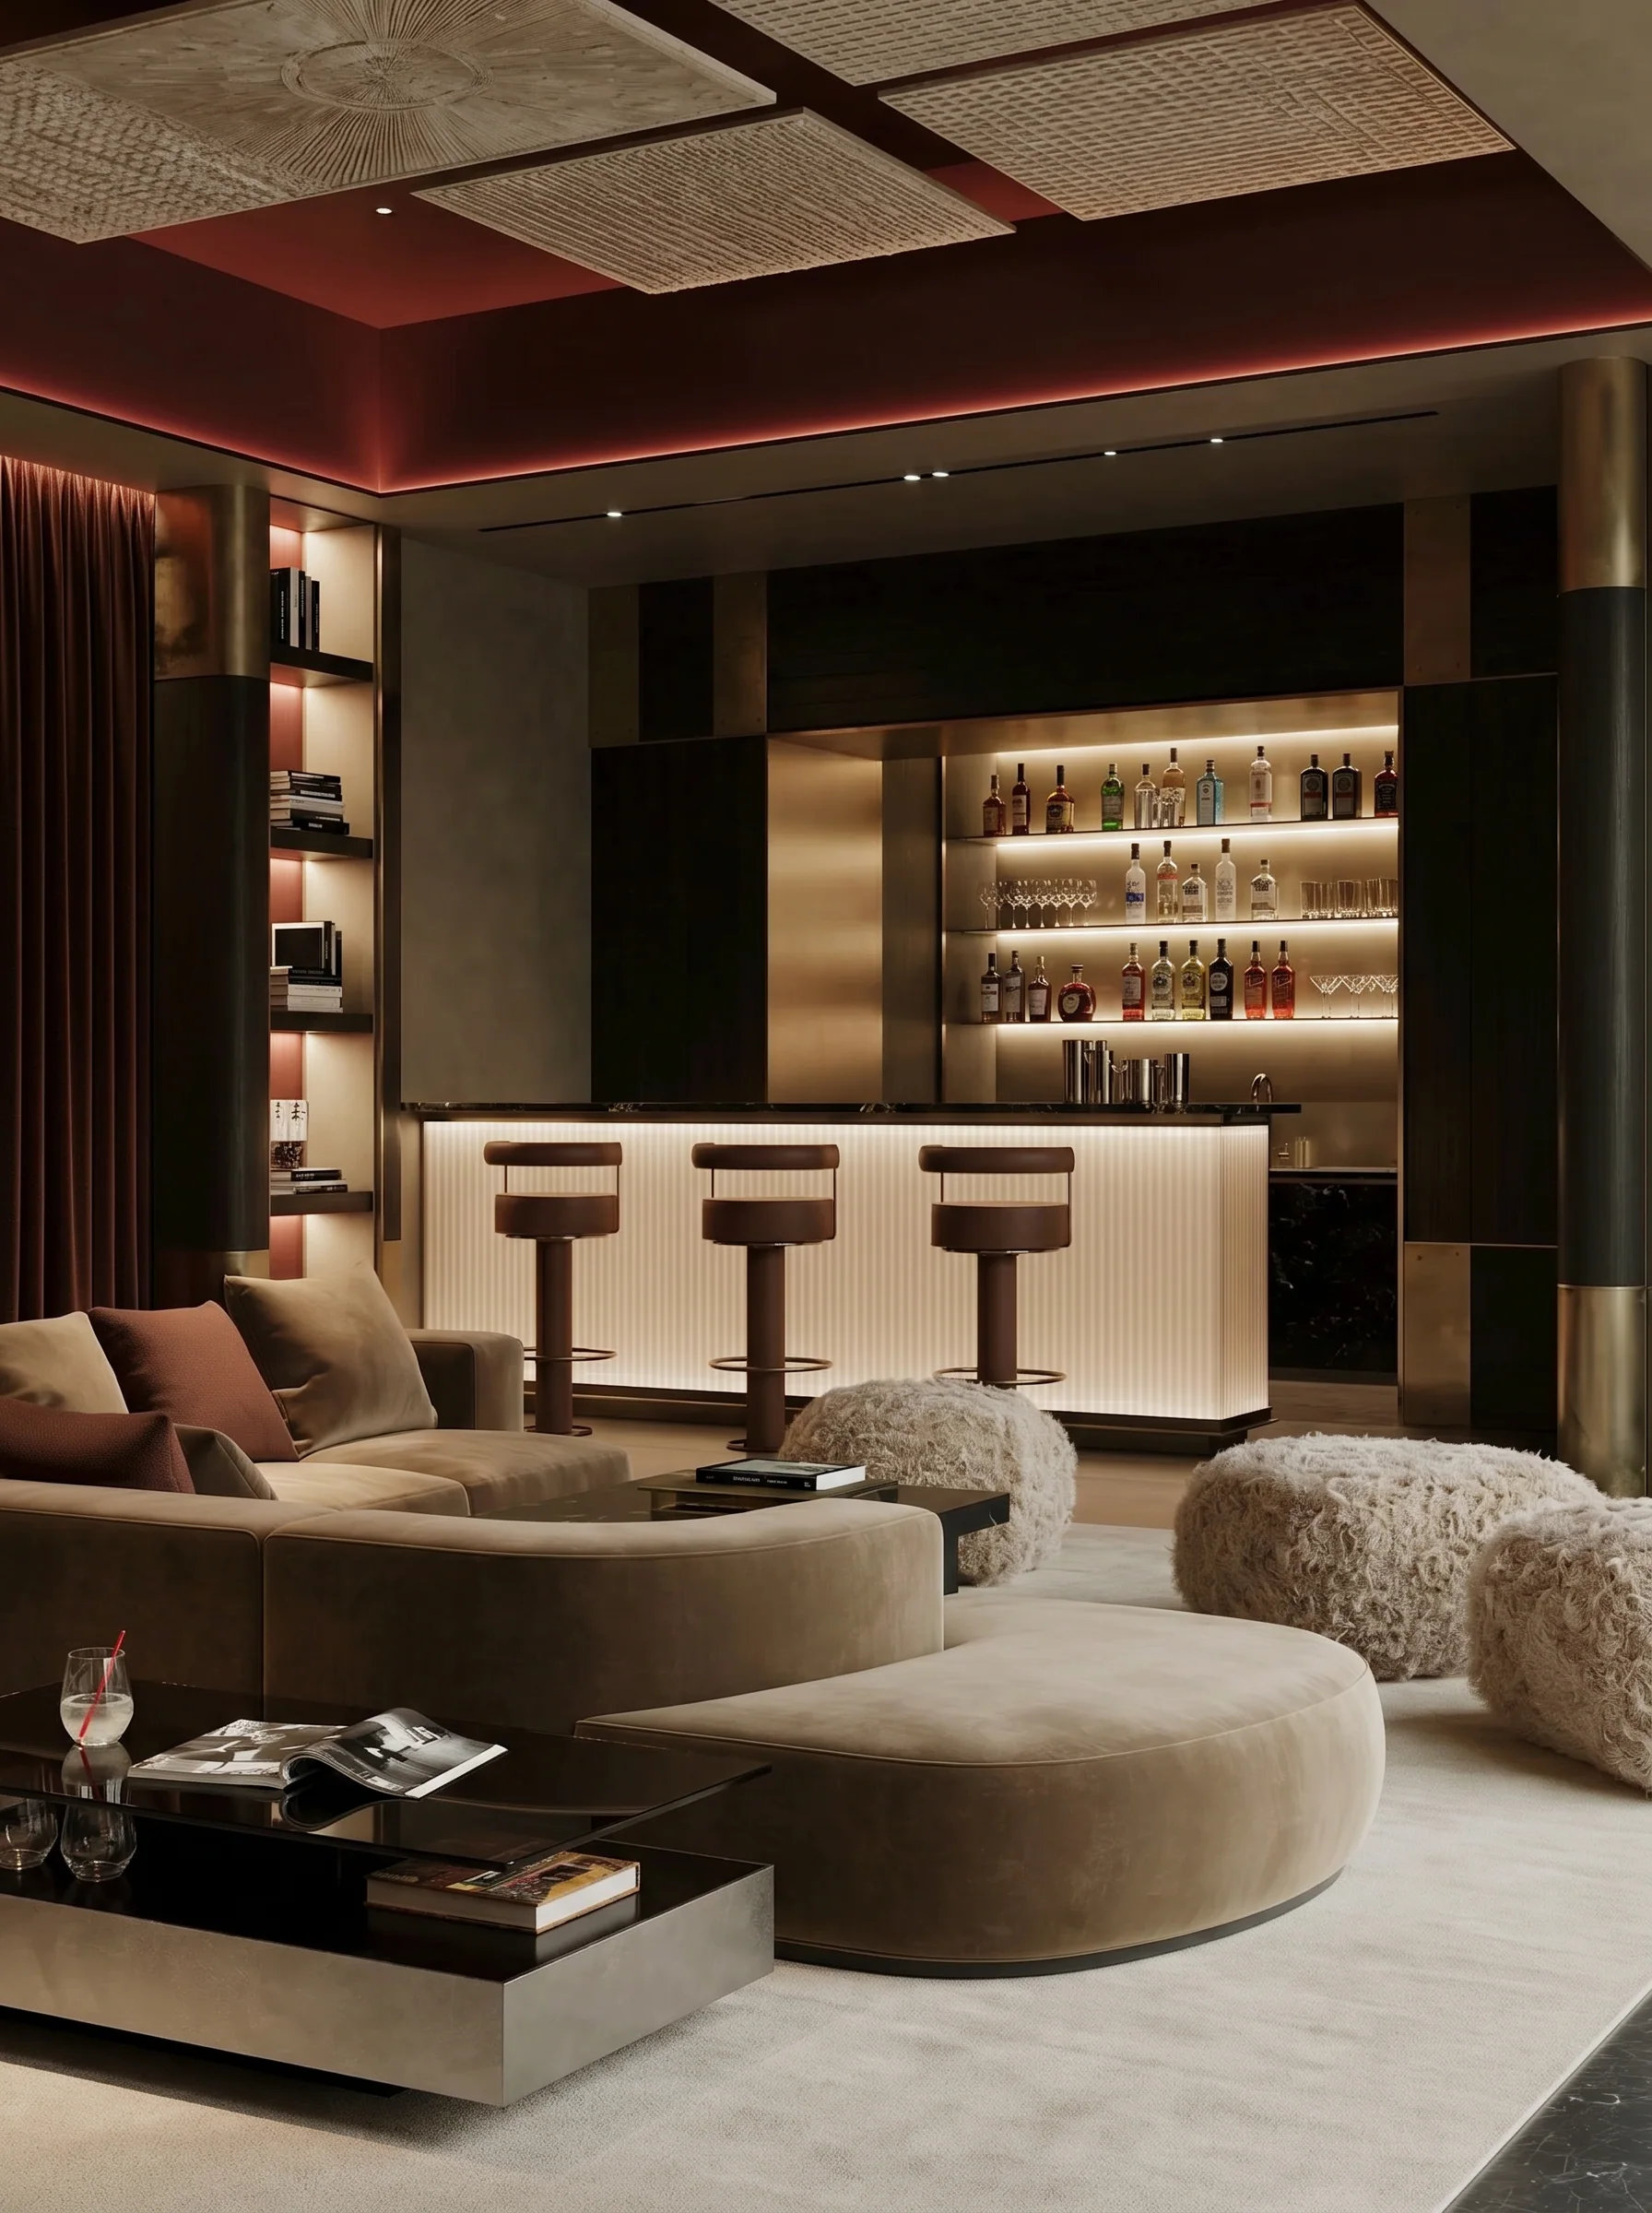
The first round is deliberately broad: fifteen to thirty atmospheres, produced in an hour rather than a week. Most will be discarded, which is the point. The team is looking for the two or three that surprise them and still feel right.
4. Iterate on the real space
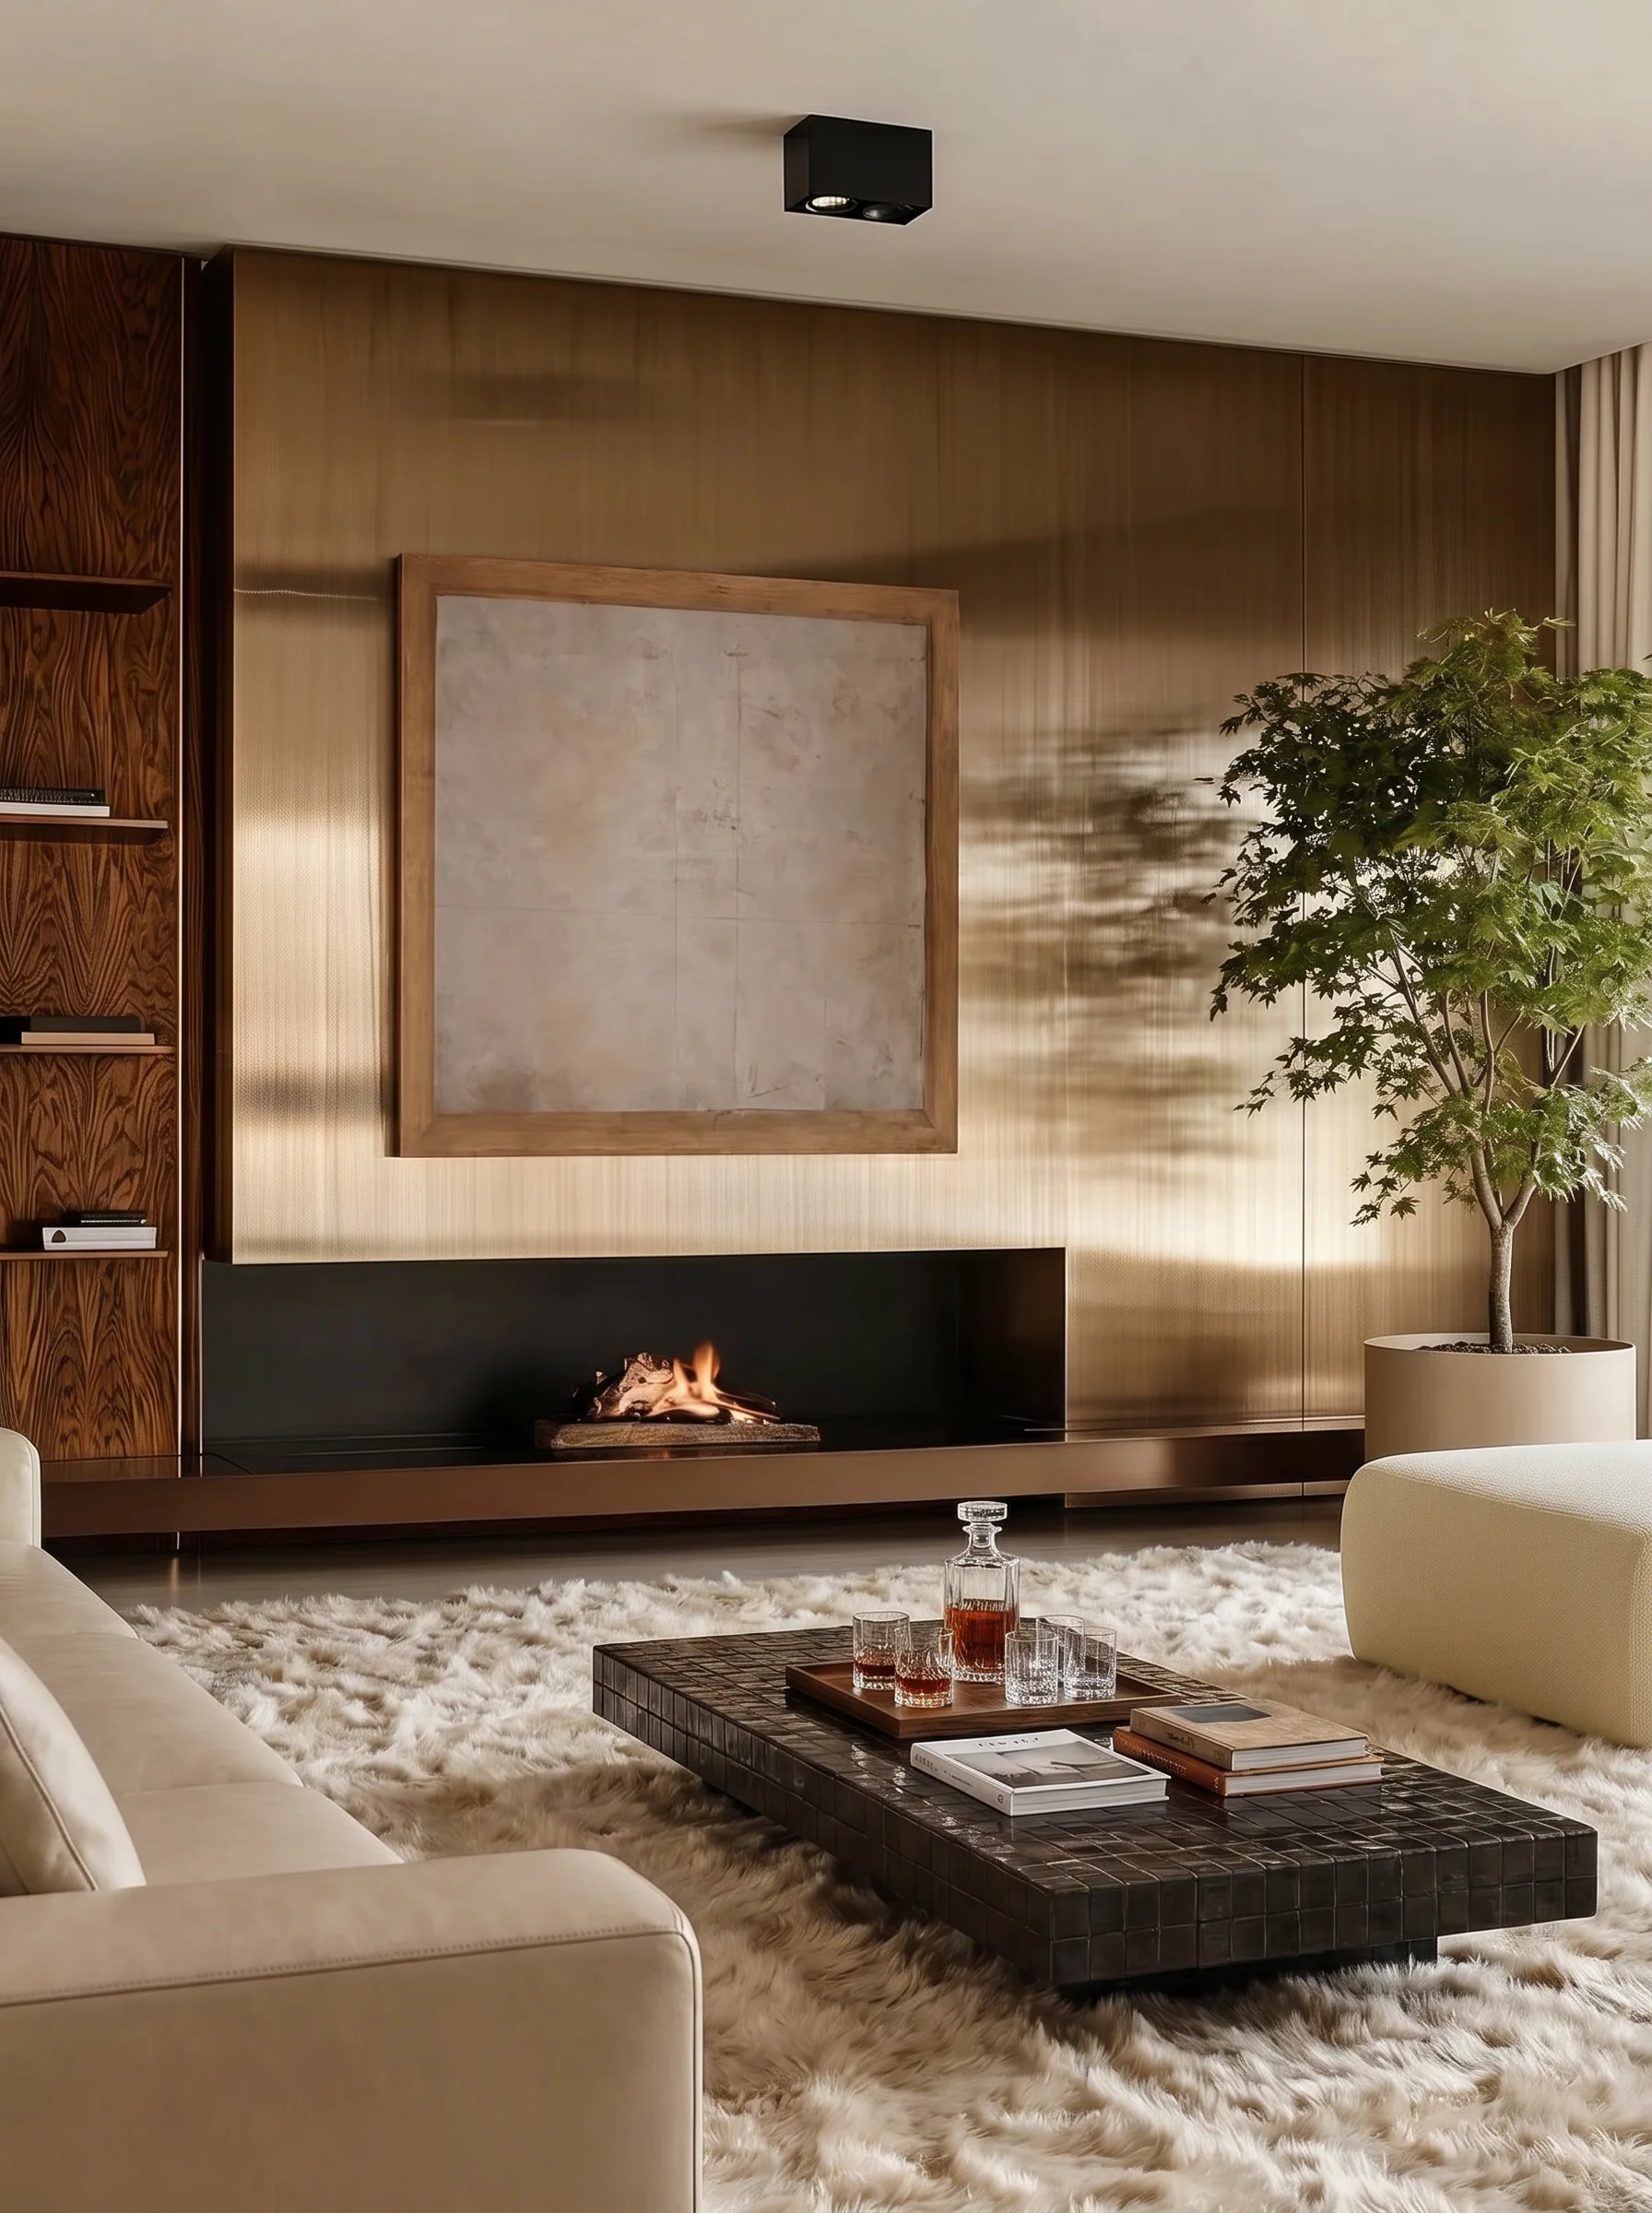
Once a direction is chosen, the images must become true to the actual room: proportions, openings and sightlines. The workflow moves from free generation to controlled generation on top of the studio's plans, sketches, low-resolution 3D or site photographs. The output stops being a mood image and becomes a credible view of this room, with this window, at this hour, in the chosen language.
5. Curate before it leaves the studio
Nothing generated reaches the client unedited. The lead designer selects, combines and often hand-corrects. A final human pass on every image is the rule, and the presentation shows fewer images than were made, each one defensible.
What changes for the team
Time moves from producing to judging. A concept round that took two senior designers a week can be done by one in two days, with more directions explored. The saved time goes into the decisions that matter or into the next project. Studios typically track three numbers: hours to first client-ready round, number of directions explored and revisions after presentation.
Common mistakes
Starting with the tool instead of the direction produces generic images. Skipping controlled generation creates beautiful atmospheres that do not fit the room. Showing everything makes the studio look undecided. Letting a junior run the process alone disconnects it from the person who holds the studio's language.
Frequently asked questions
Which tools does this need?
A capable language model configured with the studio's language, an image model that accepts references, and a controlled-generation tool that works from plans, sketches or 3D. The specific products change every few months; the loop does not.
Can this work for hospitality and retail as well as residential?
Yes. The loop is the same; the reference library and the direction document are typology-specific.
How long until a team runs this on its own?
Usually after two live projects with support, provided the workflows and the assistant were built for the studio rather than copied from a course.